Owner/Creator:Anita Knits

Monday, January 28, 2013

A Great Book Series to Encourage Imgaination & Foster a love for Mystery !

Kids Book Club time!  I picked up this GREAT book series off our local area Kijiji site .. it is entitled The Boxcar Children.  I purchased 22 books for $11.00 - yes!  They were in brand new condition.

My thought was to give them to our eldest daughter .. but I wasn't really sure if she would like these series of books.  So we decided to wrap up the first book and give it to her as one of her Christmas gifts.  Much to my delight.. she LOVES them!

She has just been *eating* them up!  This is a great little fiction series that incorporates adventure, mystery and suspense!  I really do believe it is more effective to encourage your children to be excited about reading if you can find genera of books or book series that your children love.  I really like this series because it is on the cusp of Ava's reading level.  It is not too difficult that she becomes frustrated and puts the book down; but it also has enough in there to challenge her to the next reading level.  This series is geared towards grades 3 - 5. 

I've provided a link if you are interested in the books and where you can purchase them.  I encourage you to check out your local second hand stores, Kijiji type sites, Craig lists etc... you can get great prices on them if you want to stock up and acquire the entire series.

**book cover image only used for reference purposes only , not used for any type of monetary profit**

Happy Reading!

Friday, January 25, 2013

Adding Character to your Home doesn`t have to cost a lot!

I love home decorating   I love unique, simple and one of a kind things!  I THINK I have a flare for it... but I guess anyone can think otherwise ;)

I`ve made a few big changes in our home, that really did not cost much.  Our basement was a brownish colour called Sand Motif... I`ve changed it to wedding white (which I love, love, love!)  It`s my `go-to`white!   Our wood furniture in our bedroom is distressed with eggshell wedding white... and I just love it!


After visiting a friends 1800 something stone home.. I was so very inspired by all her interior black doors.  Overall her home is decorated and painted in much darker tones... but really it just goes sooo perfectly well with the style and age of her beautiful home.  I personally love the contrast of black doors and white or light walls... so I thought I could incorporate that look in our home and add loads of character.  Also, because our home is a newer build (1994)... I feel I am a bit limited in my decorating style (in a sense).  We LOVE LOVE LOVE old stone homes or Victorian homes... and we almost bought one when we moved.. but there were just some attributes that we just couldn `t get over.. i.e. no basement, smaller rooms etc. 

Regardless... the first time we viewed our home we fell in love with it and just knew it was the home for us.

Another little trick I did was paint our interior front door the same colour of red that it is painted on the exterior side.  I completed that project almost a year ago, and we really like the fun, unique way to add color to our foyer.
I`ve also had another project brewing around in my head for a GOOD few months now!  My only stumbling block what purchasing the paint that I needed!  To complete this project I needed Krylon Mirror Paint Finish... which you can only buy in the U.S. and you can not ship to Canada!  Well I was able to ship it to the UPS store in the US and my in-laws picked it up for me ;) 
I had two side tables that I purchase both for $50 probably about a year and a half ago.. but the great thing about them... what they also came with glass cut to size and the design of the top of the tables!  They were a great purchase!  So my idea was to spray paint the tops of the glass to create the mercury glass look.  We really like the finish product.  And the best part about having distressed tables and mercury looking glass tops is that they are very child friendly!!
I was pretty sure I was already in love with mercury glass... I was just only hoping that I had enough to do a `few` more projects around the house.  I had a ton of glass vases and votives that I wanted to spice up.. as well as a piece of glass that I had cut many years ago for a little table.  Here is the finish product!!!  I arranged them on a silver tray my mom gave me... and voila.. a little mercury glass treasure collection :)

It does not have to cost much or break the bank when it comes to home decorating.  I am a big believer that all you need is a vision, a can of paint, a paint brush and some time :)  

Happy Home Decorating :)  


Tuesday, January 22, 2013

Simple Party Ideas~!

Our daughter wanted a "girl" party... and I am here to share some very simple party ideas.  Most supplies I am sure you already have in your home.

Does a room in your home have a chalk board?  Big or small will work!  I personally LOVE chalk boards... we have one in our kitchen... and the one below is in the children's play room.  So... why not create your very own... super personalized chalk board art? 


Do you wear nail polish?  If not... check out your local dollar store and pick up some fun, bright colours that any girl would be proud to sport on their nails!  

I added a glass/crystal tray (that I just happen to have) to make this little salon a bit more upscale!


I believe that every little girl... or big girl for that matter should know they are beautiful.. outside.. ok.. yes.. but more importantly inside.  So I created this little card that each girl took home after visiting the "salon" ;)  It was fun, simple and a great take home reminder that they are treasured and loved.
 Hubby set up one of our Rubbermaid tables, and I dressed it up with a pair of cream table clothes (that I own).... laid some steamers  and topped the table off with a long piece of craft paper.
 

I picked up these little babies at Micheal's Craft. I like them because they went with the ballerina theme and they were actually $1.00.  Not $1.25 which is what they would be priced at most dollar stores (hmmm go figure!)  


There are the loot bags that I made for the girls.  Simply 12 x 12 scrapbook paper rolled into a cone shape.  The ribbon I picked up at the dollar store and only need I roll.  


 These ones I made for the boys that came towards the end of the party to enjoy some birthday cake ;)

  And this is what I included in the "cone" loot bags.  I can't even tell you how inexpensive... yet very unique and fun these contents were.  I made the play dough. 
There you have it.  What I think was a super cute, pretty put together little girl party that everyone seemly had a fun time ;)

Monday, January 14, 2013

Happy 5th Birthday Grace!

Five Years.
Moving to quickly.
Trying to savor every moment.
The Good.
The Bad.
The ones that make me laugh.
and..
The ones that make me cry.
I don't know why... but I am thankful that I have been blessed
to be the mother of all my children.

Happy Fifth Birthday Grace.  I love you so very much.

xo


Friday, January 4, 2013

Wednesday, December 19, 2012

DIY Christmas Crackers!

This Christmas will be the first year that we will making our own Christmas Crackers!  I am soo excited!  I hope that this will be a family tradition that will continue for years to come!


I found this site very helpful. I do believe this is where the cracker snaps were ordered from as well (I am not entirely certain as they were a gift from a friend!).  I was inspired to make our own cracker this year, after watching this the program.  I just love idea of making things like this for your family, to add a bit of cheer!  
I filled our crackers with chocolates, Werther's caramels.


Christmas riddles that I printed.


And a small handmade ornaments.  I decided to not make the "traditional" tissue paper crown.. only because no one really wears them!  So I substituted for a small homemade ornament.

For the Christmas ornaments I decided on a snowman button ornament which I found here.

I also made a twine star.  For this I basically cut out a star shape out of card stock and covered it with twine using hot glue.  And finally strung some beads and buttons that we had on hand.

The only labor intensive part of this project was the ornaments.  They weren't difficult, but just took some time to make.  You could chose to just pick up a small toy from the dollar store or just substitute for something else small and fun.  The way I made this decision... is like this: what would I like to be surprised with in a cracker!  I decided to keep the look of them very simple, I used craft paper and a dollie.. you an use any type of paper you'd like.


Hope this inspires you to add a little bit of fun at your Christmas dinner!  Your guests will surely be surprised!

Homemade Christmas Gifts

I am going to start by confessing something.  I am always nervous when I share something I've made or crafted for the simple fact that I just don't want anyone to think I am taking credit for the idea.  I am well aware that most if not all of these crafts or ideas are not new.  They may have been re-invented or become popular once again.. but definitely not new.  I can only take "credit" for our take on what is very likely to be an old "idea".

Every year our oldest daughter wants to buy presents for everyone in our family.  As she gets older it actually becomes more and more fun to brainstorm and just spend time together thinking up what to give to each family member.  This year we decided on making the gifts for her siblings.  Ava has had a lot of fun learning how to sew and use my sewing machine.  I too have really cherished our evenings together sewing, learning and just spending some one on one time together.

For Gabriel we decided on an indoor hopscotch game.  I thought it was pretty original, but once I Googled it I realized it has been done (much like many crafts or gifts or what have you).. nonetheless we were pretty excited and proud of the end result.  I prepped many of the pieces by ironing the hems and even sewing some of the smaller pieces together.  Ava did a lot of the sewing and pretty much pieced the whole item together.


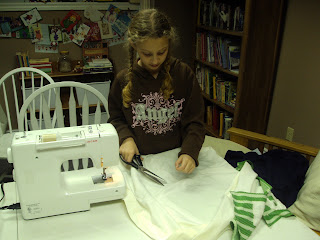
 She really enjoyed learning how to use my sewing machine, and I had a lot of fun teaching her!  I really loved to just sit back and watch her creativity, it was really amazing to watch her.  I think it's moments like this that help a person to really think out side the box.  What are the possibilities?  What are some potential issues that may come up?  Really helps you to think ahead and problem solve.
 All in all this was a really simple project, a bit labor intensive, but this is how we tackled it and the materials we used.  First off, the cream fabric is actually from tab top curtains that I owned.  I really don't like tab tops, so I thought I would put the fabulous cream fabric to good use :)  The green and white-ish fabric we bought at a second hand store.  I can't even tell you how much fabric it was... not very mathematical.. but it was alot and for $3.99 - so you can't go wrong there!

I cut out the size of squares that would allow numbers 1 through 10 to fit on the cream fabric.  Then I used mircosoft publisher and chose the font that I wanted to use for the numbers.  You can use any program you like, I just happen to really like microsoft publisher.  OK... so this is the super easy part... I just scaled it to the size we wanted to use.. and get this.. taped up the a small piece of fabric and traced it right from the screen using chalk.  Yup!  No printing, or making pattern.  Easy peasy - love it!.

Then the squares were hemmed and the numbers were sew on top.  Every piece of fabric was double stitched.  The reason behind this is because this is going to get a lot of use and there will be a lot of rubbing and jumping going on.  So I thought it would be best to reinforce where we could :)

 Along with the hopscotch we made a ball.  This I did "research" and I found this website to be very helpful on how to make a fabric ball.   For that I am grateful..........thank you! :)


Here is the finished project.  This took us two nights to make.  The design is pretty simple, but we think Gabriel (and the rest of us) :) will have lots of fun playing with it!


 The bag was a bit difficult for Ava to make, so I went ahead and made this draw string bag. Inside both the hopscotch "sheet" and ball fit perfectly.


 Added the "G" monogram and there you have it!


Another gift that we worked on together was a fabric bowling set.  Again, pretty sure this isn't new.. but we thought it would pretty darn cute!  For this project, we used another set of curtains that we re-purposed (which is the moss green coloured fabric), and the second fabric we actually re-purposed a sweater!  So really this project was very inexpensive as well.


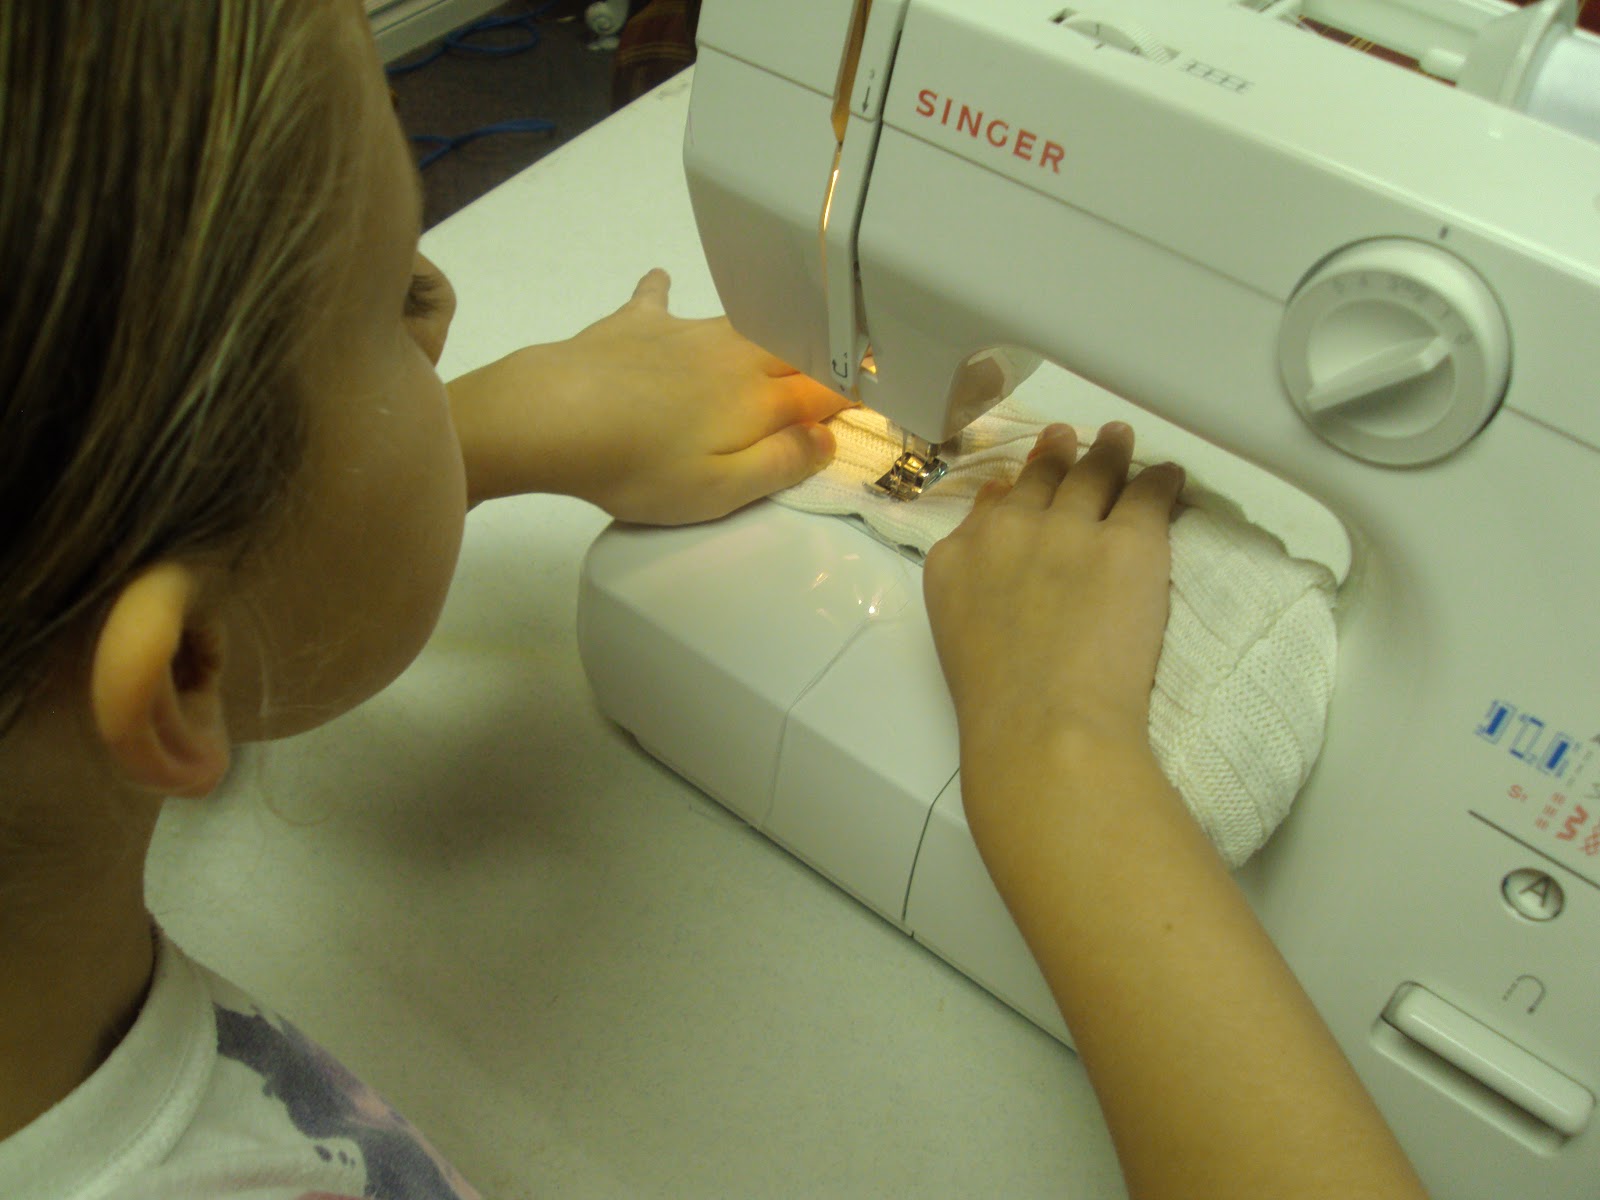
This project we found to really move along quite quickly and was very straight forward.  We measured the length we wanted the bowling pins and then sewed them together to what look like a sleeve.  Then added a circular piece of fabric on the bottom.  Once the bottom piece was added it started to take shape, essentially looking like a cylinder.  To add weight to the bottom Ava added dried large beans (we happen to have a large bag left over from our fall crafts).  Then the rest of the cylinder was filled with stuffing.


She then sewed across the top of the "pin" to ensure all the contents stayed inside.  Then tied the top with the green fabric.  I simply ripped a long strip of the fabric to give it the frayed looked (which we like).


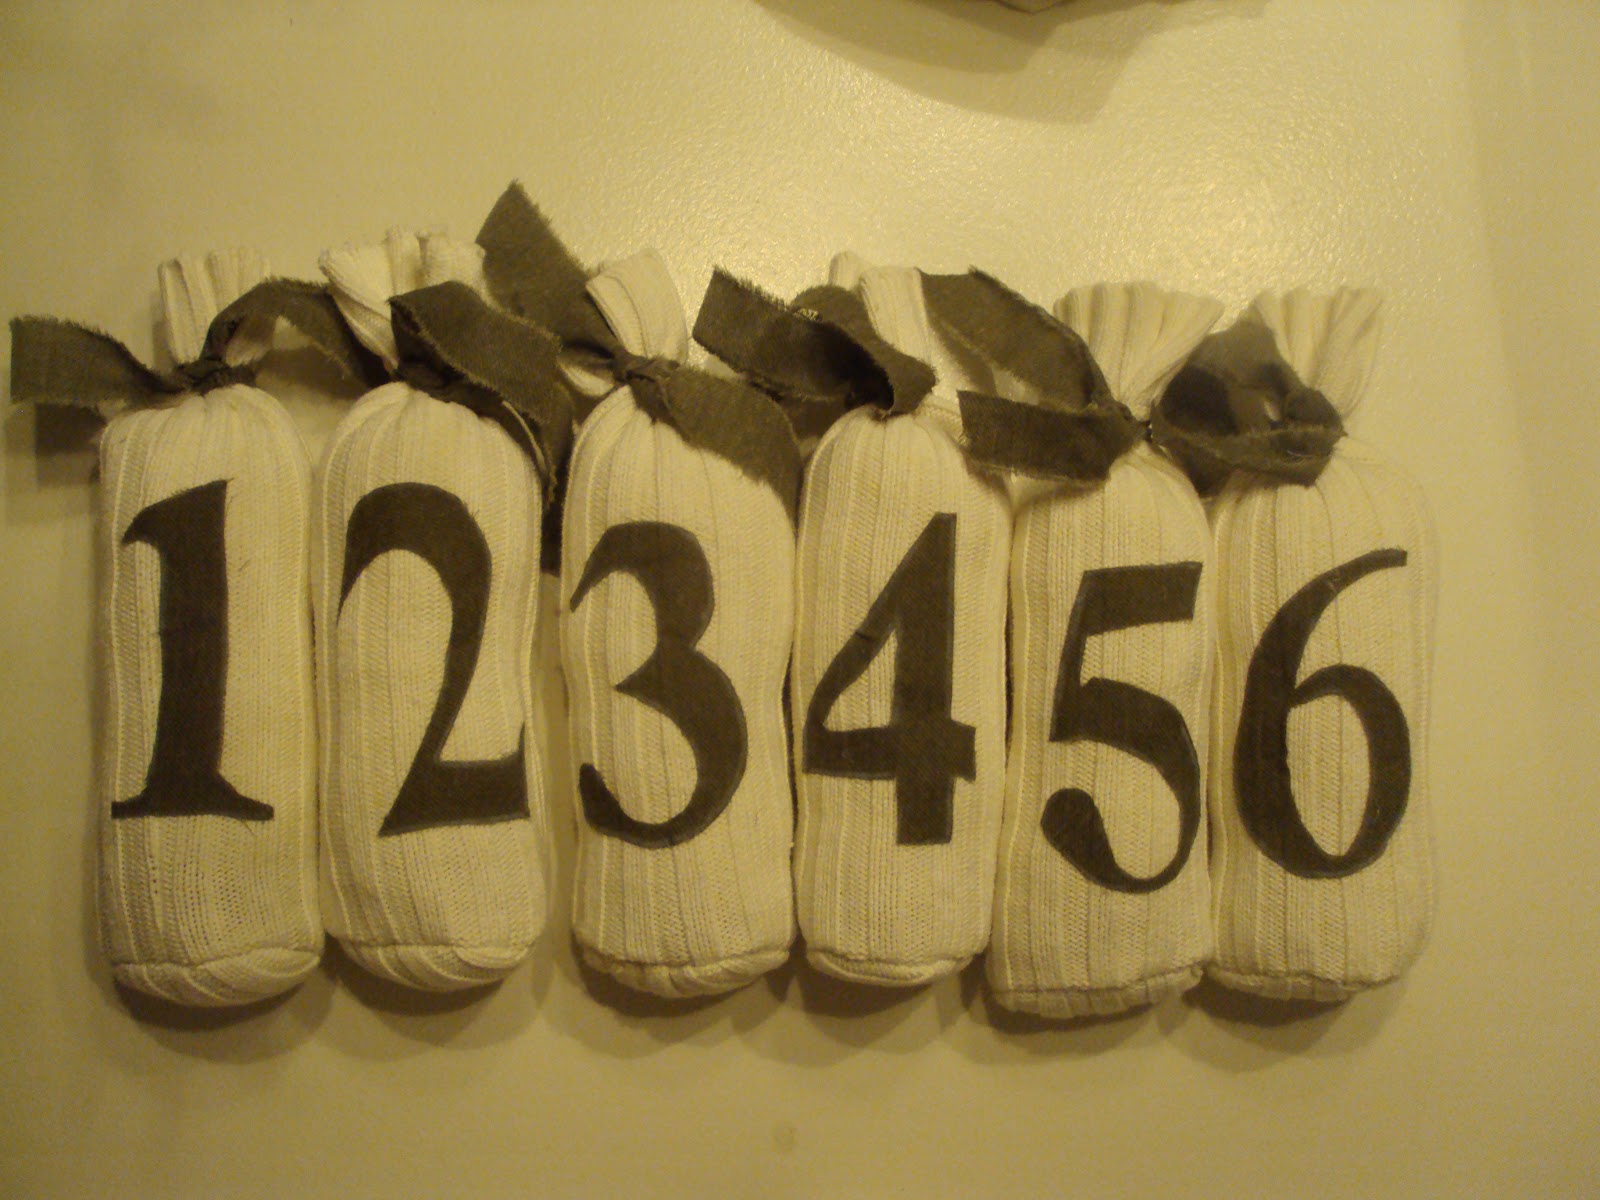
For the numbers I again used mircosoft publisher.  Chose the font we liked, sized it, and traced it straight from the computer screen.  We actually decided to hot glue the numbers to the pins, the reason for this is because for this we didn't want to see the stitching.  I'll admit there probably is a better way to do this, but I am not a "professional" sewer!  Nor do I sew very often.  I am certain this will last and stand up against time.


Made a pull string bag to fit all the items in.  We added the monogram letter "L" for Linden's name - and viola that's his Christmas gift from Ava! (with a mommy assist) :)  And of course we also made a ball to go with the pins.


All in all we think they turned out pretty great, but I think most of all Ava and I really just enjoyed staying up late, just the two of us, sewing, chatting and having a bit of fun and testing out the toys we made :)

A special memory I will always treasure :)